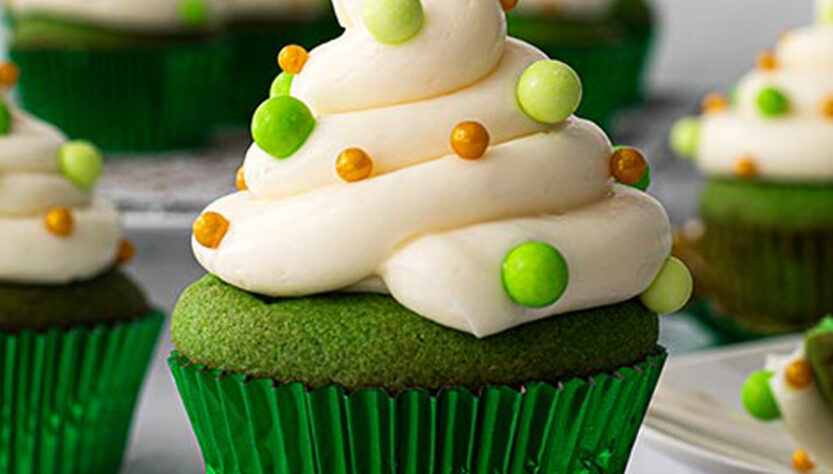
Step into a world of vibrant colors and irresistible flavors with Green Velvet Cupcakes—a delightful twist on the beloved classic, Red Velvet. With their eye-catching green hue and velvety texture, these cupcakes are sure to captivate both the young and the young at heart.
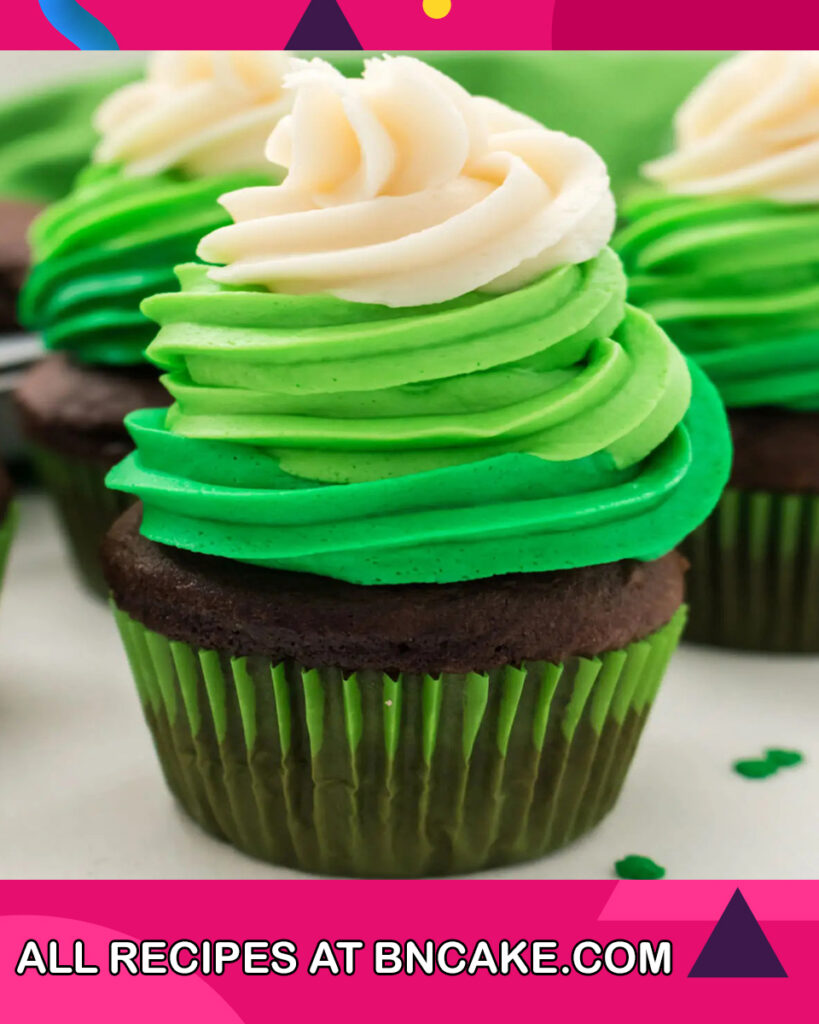
Green Velvet Cupcakes boast the same moist and tender crumb as their red counterpart, but with a playful and unique twist. The signature cocoa undertones are beautifully complemented by a touch of natural green food coloring, creating an enchanting treat that is both visually stunning and delectably indulgent.
Topped with a luscious cream cheese frosting that balances the cupcake’s sweetness with a subtle tang, these Green Velvet Cupcakes offer a delightful balance of flavors and textures.
Perfect for St. Patrick’s Day celebrations, garden parties, or any occasion that calls for a touch of whimsy, Green Velvet Cupcakes are a true showstopper that will leave a lasting impression on your taste buds and hearts alike.
Join us on a delightful journey as we dive into the world of Green Velvet Cupcakes, where creativity and traditional charm come together to create an unforgettable and delicious experience.
What Is Green Velvet Cupcakes?
Green Velvet Cupcakes are a variation of the classic Red Velvet Cupcakes, featuring a vibrant green color and the same tender, moist texture that has made Red Velvet so beloved. Like the traditional version, Green Velvet Cupcakes typically include a combination of cocoa powder, buttermilk, and a small amount of vinegar, which gives them their characteristic tangy flavor and rich crumb.
The green hue of these cupcakes is achieved by adding green food coloring to the batter. The amount of food coloring used can vary depending on the desired shade of green, ranging from a light pastel green to a deeper emerald color.
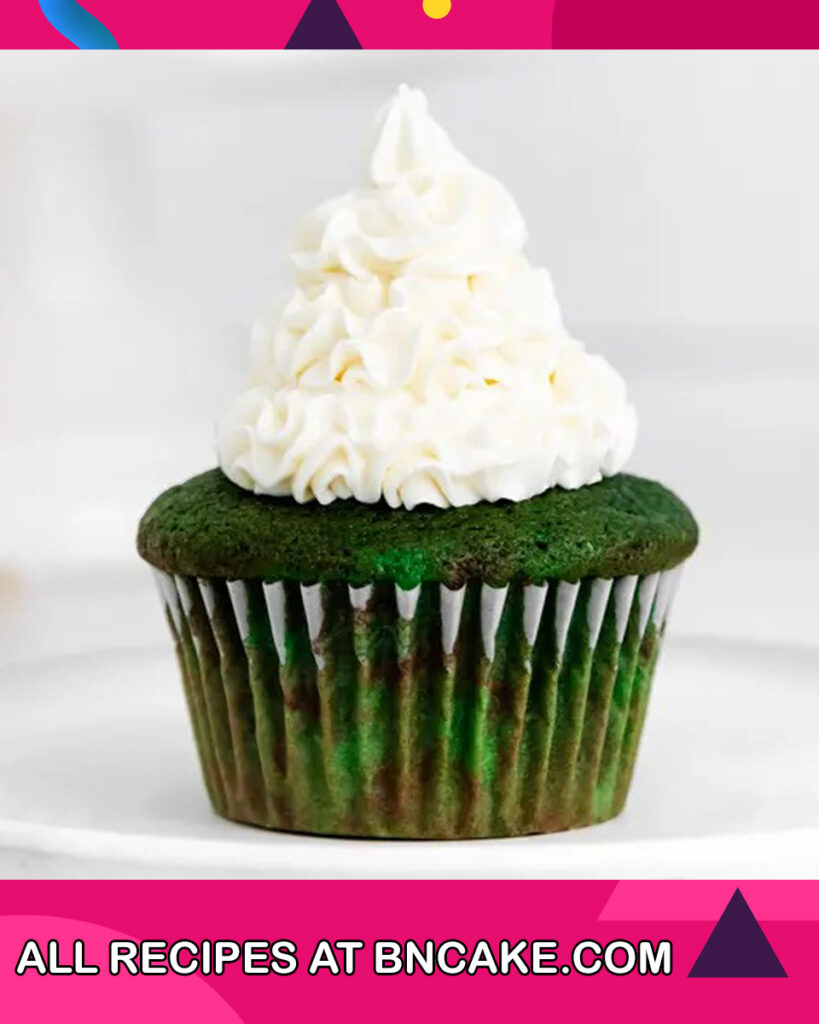
As with Red Velvet Cupcakes, Green Velvet Cupcakes are often topped with a creamy and tangy cream cheese frosting. The contrast of the green cake with the white frosting creates a visually striking dessert that is perfect for special occasions, holidays, or any time you want to add a touch of whimsy to your baked goods.
Green Velvet Cupcakes have gained popularity as a fun and creative alternative to traditional cupcakes, offering a delightful twist on a classic favorite. They are commonly served at parties, celebrations, and festive gatherings, bringing a burst of color and flavor to the dessert table.
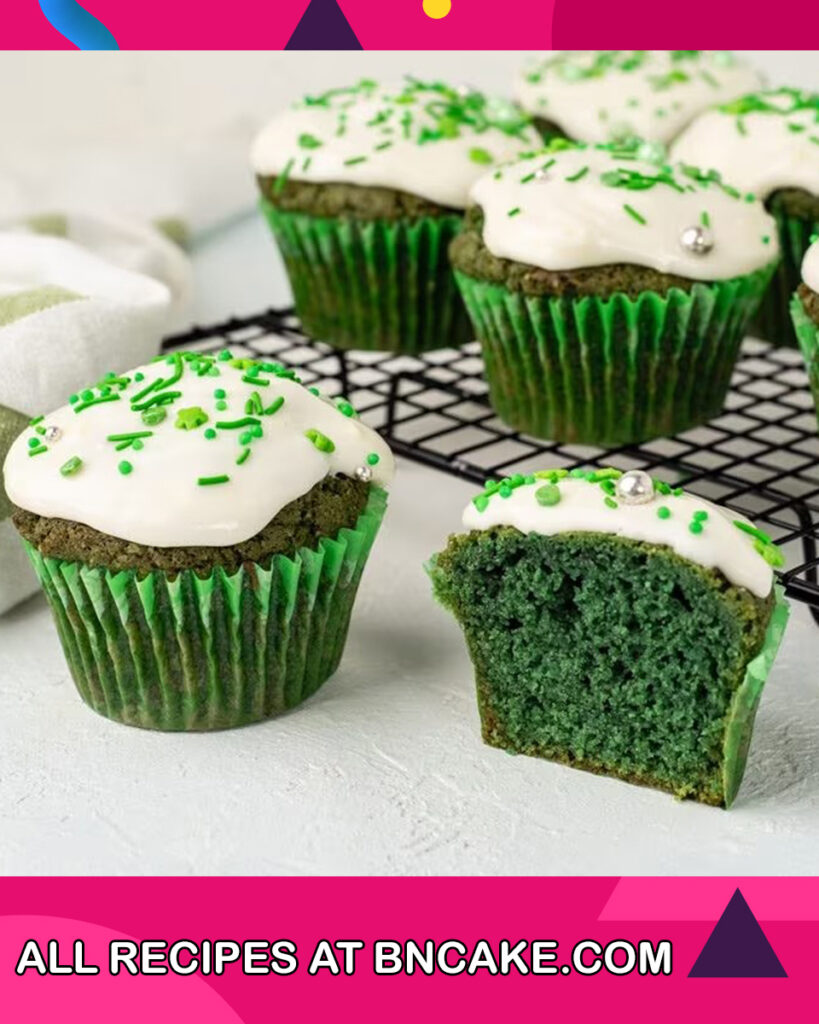
Why You Will Love Green Velvet Cupcakes Recipe?
There are several reasons why you’ll fall in love with the Green Velvet Cupcakes recipe:
- Playful and Vibrant: The vivid green hue of these cupcakes adds a touch of whimsy and excitement to any occasion. Whether it’s a St. Patrick’s Day celebration, a garden party, or a fun-themed event, the striking color will instantly catch everyone’s eye and bring smiles to their faces.
- Classic with a Twist: If you’re a fan of the beloved Red Velvet Cupcakes, the Green Velvet variation will delight your taste buds with the same velvety texture and subtle cocoa undertones. It’s a delightful twist on a classic favorite, offering a unique and exciting flavor experience.
- Kid-Friendly and Festive: Green Velvet Cupcakes are a hit with children and adults alike. Kids will be drawn to the vibrant green color, making it a fun and enticing treat for them. For festive gatherings or holiday parties, these cupcakes add a cheerful and playful touch to the dessert spread.
- Perfect for Special Occasions: The visually stunning Green Velvet Cupcakes are an ideal choice for special occasions and celebrations. They make for a beautiful and memorable centerpiece on any dessert table, impressing guests with both their looks and taste.
- Creamy Cream Cheese Frosting: Topped with a luscious cream cheese frosting, Green Velvet Cupcakes strike a delightful balance between sweetness and tanginess. The creamy frosting complements the cupcakes perfectly, creating a harmonious and indulgent combination.
- Easy to Customize: The recipe allows for creative adaptations and personalization. You can adjust the shade of green to your preference, from a light pastel to a deep emerald. Additionally, you can add sprinkles, edible decorations, or even a touch of citrus zest for an extra burst of flavor.
- Baking Fun for All: Making Green Velvet Cupcakes is an enjoyable and rewarding baking adventure. The process is straightforward, making it suitable for both novice and experienced bakers to achieve delicious and visually appealing results.
- Share the Joy: Sharing Green Velvet Cupcakes with family and friends brings joy and happiness. It’s a delightful way to spread cheer and show your creativity in the kitchen.
Overall, the Green Velvet Cupcakes recipe promises a delightful fusion of flavors, stunning visual appeal, and a sense of playful charm that will enchant anyone who takes a bite. So, embrace the joy of baking and treat yourself and your loved ones to these delightful green-hued delights!
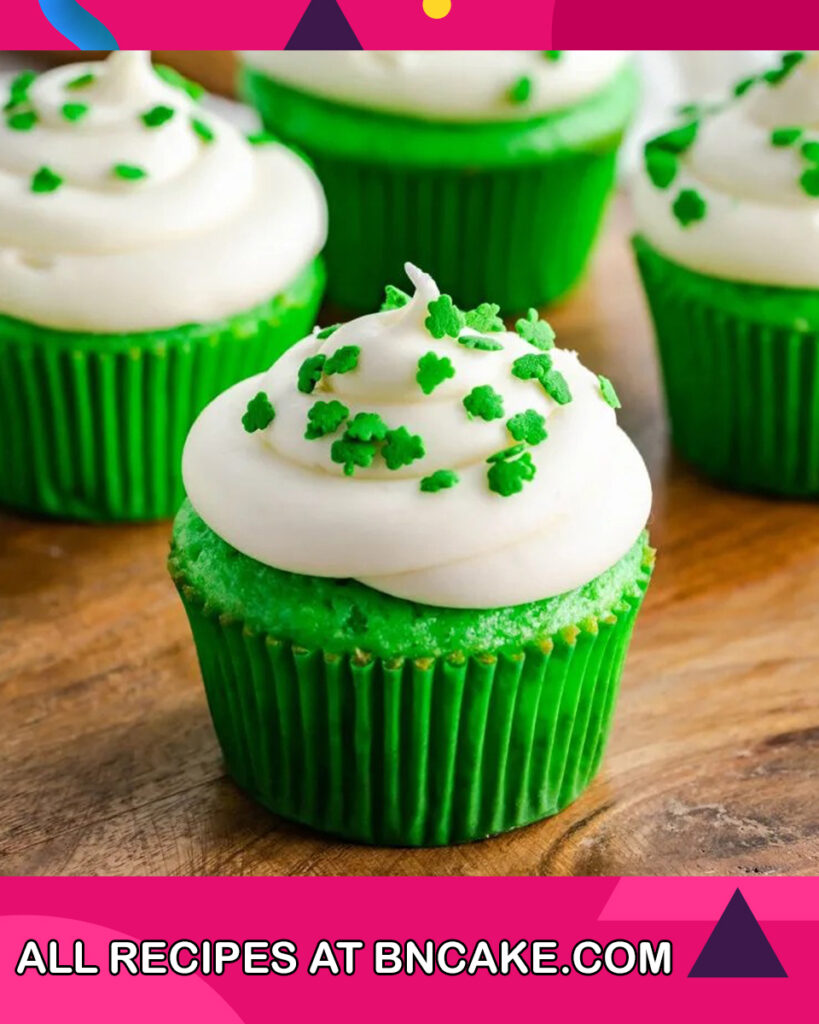
Ingredients For Green Velvet Cupcakes
- 1 and 1/4 cups all-purpose flour
- 3/4 cups granulated sugar
- 1/2 teaspoon baking powder
- 1/4 teaspoon baking soda
- 1/4 teaspoon salt
- 1 tablespoon unsweetened cocoa powder
- 1/2 cup unsalted butter, softened
- 2 large eggs, at room temperature
- 1/2 cup buttermilk, at room temperature
- 1 teaspoon vanilla extract
- Green food coloring (gel or liquid), as desired
Cream Cheese Frosting:
- 8 oz (225g) cream cheese, softened
- 1/2 cup (1 stick or 113g) unsalted butter, softened
- 4 cups (480g) powdered sugar
- 1 teaspoon vanilla extract
Optional: Green sprinkles or decorations for garnish
Yield: This recipe makes approximately 12 standard-sized cupcakes.
How To Make Green Velvet Cupcakes
For Green Velvet Cupcakes:
- Preheat the Oven:
- Preheat your oven to 350°F (175°C).
- Line a standard muffin tin with cupcake liners.
- Whisk Dry Ingredients:
- In a medium-sized bowl, whisk together the all-purpose flour, granulated sugar, baking powder, baking soda, salt, and unsweetened cocoa powder until well combined.
- Cream the Butter:
- In a large mixing bowl, beat the softened unsalted butter using an electric mixer on medium speed until creamy and smooth.
- Add Eggs and Vanilla:
- Add the large eggs one at a time to the creamed butter, beating well after each addition.
- Stir in the vanilla extract.
- Alternately Add Dry Ingredients and Buttermilk:
- Gradually add the dry ingredients to the butter mixture in three parts, alternating with the buttermilk.
- Start and end with the dry ingredients.
- Mix until just combined after each addition.
- Add Green Food Coloring:
- Add the green food coloring to the cupcake batter as desired to achieve the preferred shade of green.
- Start with a small amount and gradually add more until you reach the desired color.
- Fill the Cupcake Liners:
- Divide the cupcake batter evenly among the cupcake liners, filling each one about two-thirds full.
- Bake the Cupcakes:
- Bake the cupcakes in the preheated oven for approximately 15-18 minutes or until a toothpick inserted into the center of a cupcake comes out clean.
- Cool the Cupcakes:
- Remove the cupcakes from the oven and allow them to cool in the muffin tin for a few minutes before transferring them to a wire rack to cool completely.
For Cream Cheese Frosting:
- Prepare the Cream Cheese Frosting:
- In a separate mixing bowl, beat the softened cream cheese and unsalted butter with an electric mixer until smooth and creamy.
- Gradually add the powdered sugar and vanilla extract, and continue to beat until the frosting is light and fluffy.
Assemble and Decorate:
- Frost the Cupcakes:
- Once the cupcakes are completely cooled, frost them with the cream cheese frosting using a piping bag or a spatula.
- Optional Garnish:
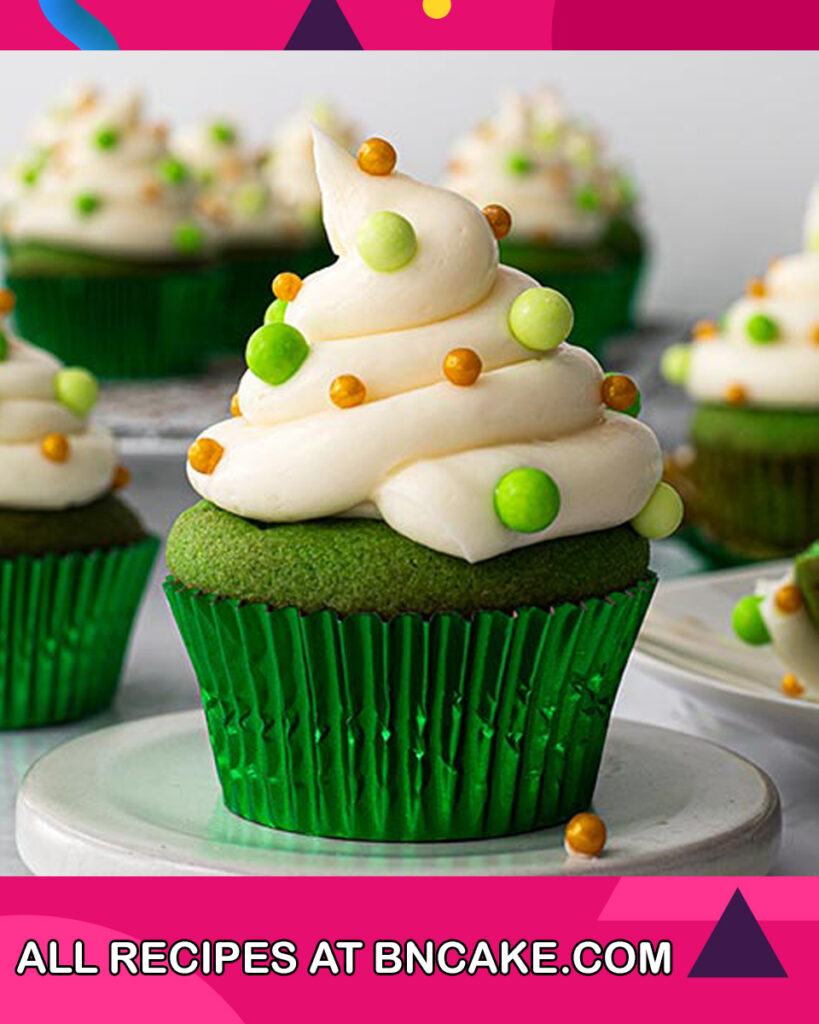
- Optionally, decorate the cupcakes with green sprinkles or other decorations for an extra festive touch.
- Serve and Enjoy:
- Serve the Green Velvet Cupcakes and enjoy the delightful combination of flavors and the visually striking green color.
Now, you have a batch of scrumptious Green Velvet Cupcakes ready to be devoured and shared with your family and friends!
How To Serve Green Velvet Cupcakes
Serving Green Velvet Cupcakes is a delightful experience that allows you to showcase their vibrant color and delectable flavors. Here are some tips on how to serve these charming treats:
1. Presentation:
- Arrange the Green Velvet Cupcakes on a decorative dessert stand or platter. You can use a cake stand or tiered tray to display them elegantly.
2. Cream Cheese Frosting:
- The classic pairing for Green Velvet Cupcakes is cream cheese frosting. Make sure the frosting is smooth and generously cover the top of each cupcake. You can use a piping bag for a more polished look.
3. Garnish:
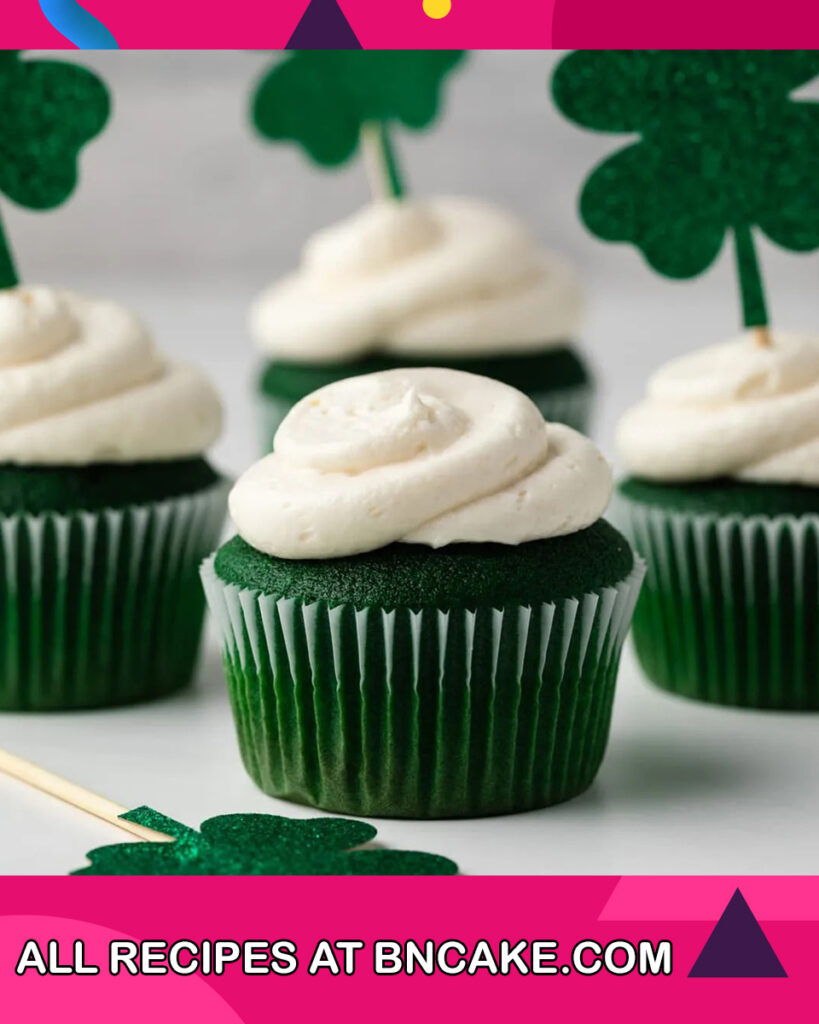
- Optionally, add green sprinkles, edible glitter, or decorative fondant shapes on top of the cupcakes to enhance their visual appeal and tie in the color theme.
4. Color-Coordinated Display:
- For special occasions or themed events, consider coordinating the cupcake display with the color theme. Use green tablecloths, napkins, or cupcake liners to create a cohesive look.
5. Cupcake Toppers:
- For an extra special touch, you can place cute cupcake toppers with fun designs or personalized messages on top of the cupcakes.
6. Individual Cupcake Holders:
- If you’re serving the cupcakes at a party or event, consider using individual cupcake holders or boxes to make it easy for guests to take them home as party favors.
7. Complementary Beverages:
- Offer a selection of beverages that pair well with the cupcakes, such as hot or iced tea, milk, or even green-themed drinks for added fun.
8. Display Variety:
- If you have multiple cupcake flavors, arrange a variety of cupcakes on the dessert table, including the Green Velvet Cupcakes, to give guests more options.
9. Dessert Buffet:
- Create a dessert buffet that includes other sweets like cookies, brownies, or macarons alongside the Green Velvet Cupcakes. This way, guests can enjoy a diverse selection of treats.
10. Share the Recipe:
- If you’ve made these cupcakes for a gathering or event, be prepared for guests to inquire about the recipe. You can print out recipe cards or share it digitally to spread the joy of baking.
Remember to serve the Green Velvet Cupcakes with a smile and let your guests relish the delightful combination of flavors and the enchanting green color. Whether it’s a celebration or a simple get-together, these cupcakes are sure to be a hit and leave a lasting impression on everyone who enjoys them.
How To Store Green Velvet Cupcakes
Properly storing Green Velvet Cupcakes is essential to maintain their freshness and prevent them from drying out. Here’s how you can store them:
- Allow Cupcakes to Cool Completely: Before storing the cupcakes, ensure they have completely cooled at room temperature. This prevents condensation from forming inside the storage container, which could make the cupcakes soggy.
- Airtight Container: Place the Green Velvet Cupcakes in an airtight container. Use a container that is large enough to hold the cupcakes without squishing or damaging the frosting.
- Single Layer or Separation: If you need to store multiple layers of cupcakes in the same container, place a sheet of parchment paper or wax paper between each layer to prevent the cupcakes from sticking together or the frosting from getting ruined.
- Room Temperature or Refrigeration: Green Velvet Cupcakes can be stored at room temperature for 1 to 2 days if you plan to consume them relatively soon. If you need to store them for longer, it’s best to refrigerate them to extend their shelf life.
- Avoid Direct Sunlight and Heat: Keep the cupcakes away from direct sunlight and heat sources, as these can cause the frosting to melt and affect the cupcakes’ texture.
- Freezing (Optional): If you need to store the cupcakes for an extended period, you can freeze them. Place the cupcakes in an airtight container or wrap them individually in plastic wrap and then place them in a freezer-safe bag. Frozen cupcakes can be stored for up to 2-3 months.
- Thawing Frozen Cupcakes: When you’re ready to enjoy frozen cupcakes, remove them from the freezer and let them thaw at room temperature for about 1 to 2 hours before serving. This helps them return to their original texture and taste.
- Avoid Refrigerating Decorations: If your cupcakes are decorated with perishable items like fresh fruit or cream, it’s best to avoid refrigerating them as these decorations can become soggy. Instead, add the decorations just before serving.
- Note on Cream Cheese Frosting: If your cupcakes are frosted with cream cheese frosting, remember that cream cheese is a perishable ingredient. Cupcakes with cream cheese frosting should be refrigerated to prevent spoilage. Let them sit at room temperature for about 15-30 minutes before serving to allow the frosting to soften slightly.
By following these storage guidelines, you can enjoy Green Velvet Cupcakes at their best, whether you serve them shortly after baking or save them for a later indulgence.
Other Delicious Dessert Recipes To Try
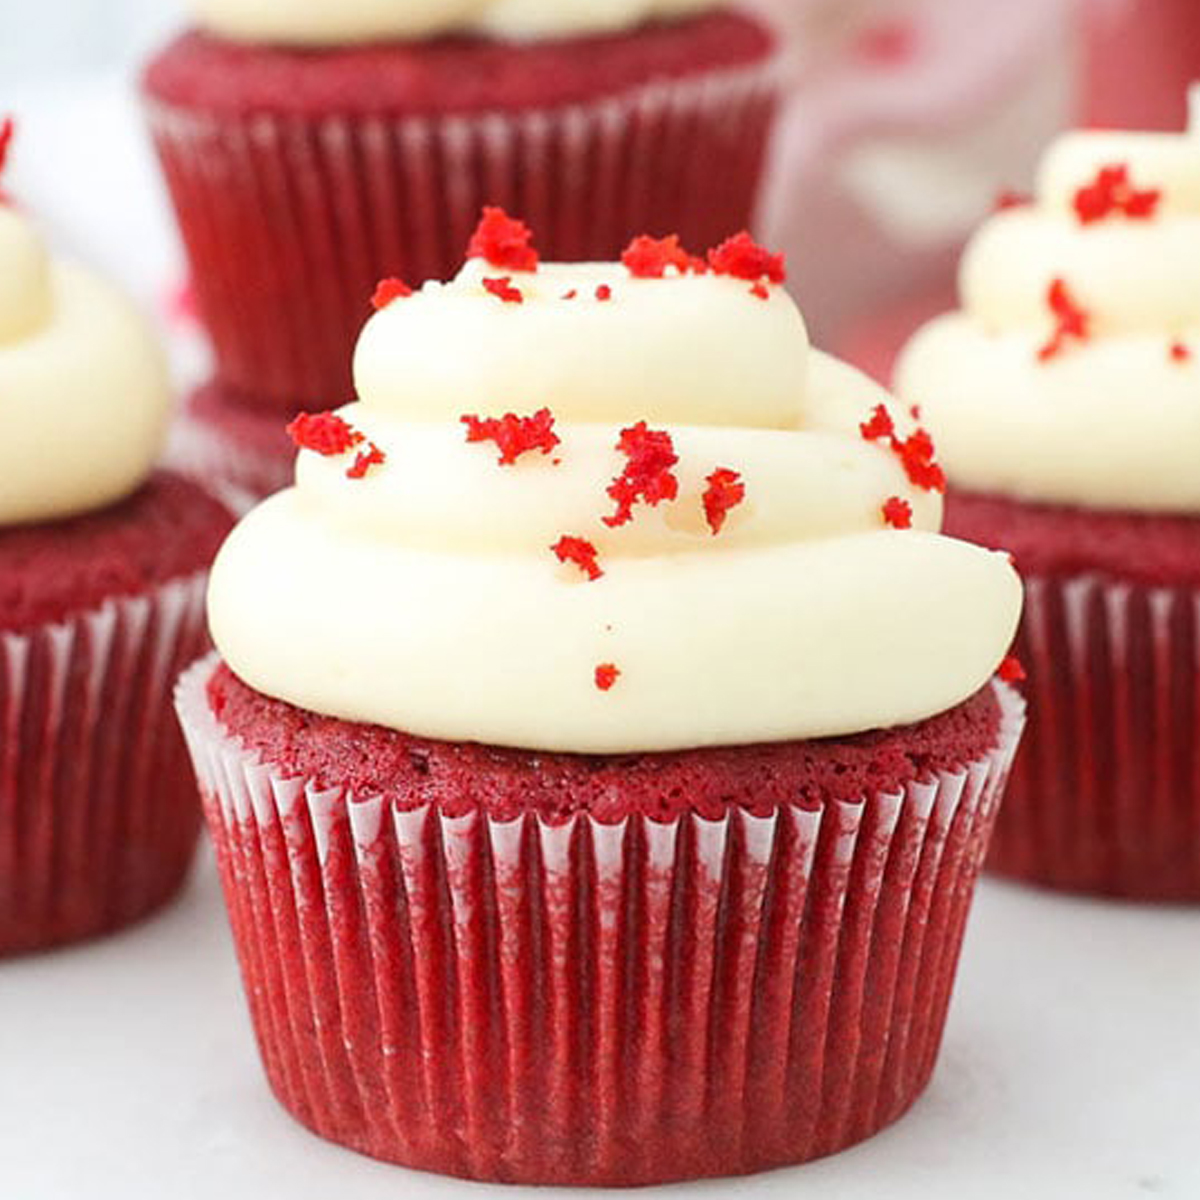
- Red Velvet Cupcakes
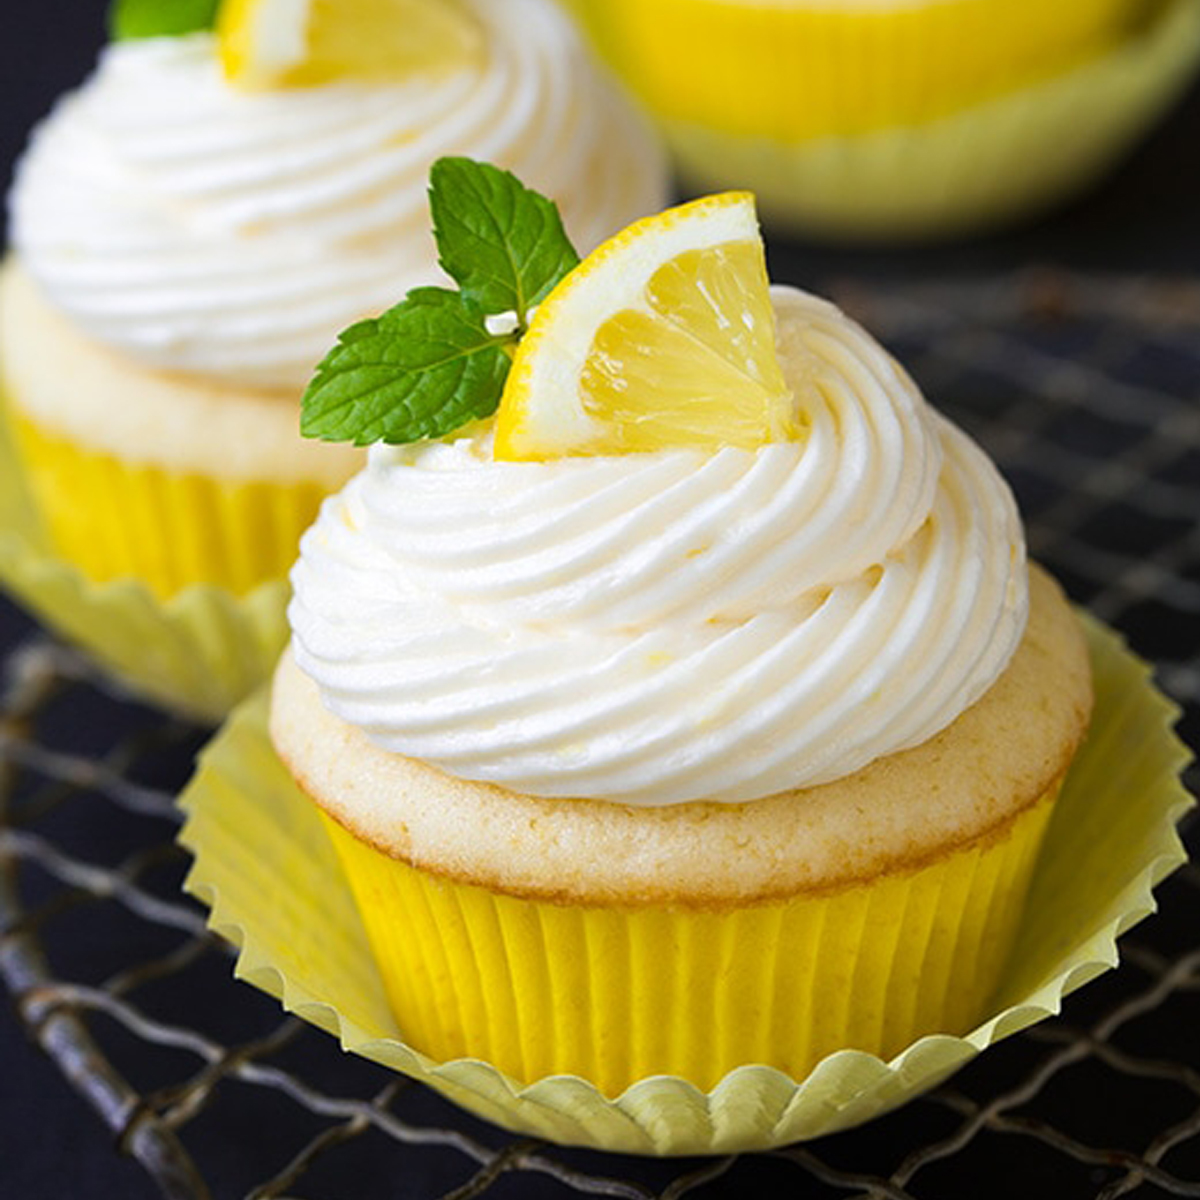
- Lemon Cupcakes
- Black Forest Cupcakes
- Fresh Strawberry Cupcakes
- Oreo Cupcakes
- Funfetti Cupcakes
FAQs And Troubleshooting For Green Velvet Cupcakes:
Q1: Can I use natural food coloring for the green color in Green Velvet Cupcakes?
A1: Yes, you can use natural food coloring alternatives like spinach or matcha powder to achieve the green color. However, keep in mind that the intensity of the color may vary, and you might need to adjust the quantity to get the desired shade.
Q2: Can I make Green Velvet Cupcakes ahead of time for an event?
A2: Yes, you can make Green Velvet Cupcakes ahead of time. Store them in an airtight container at room temperature for 1-2 days. If you need to store them for a longer period, refrigerate them in an airtight container for up to 3-4 days. For longer storage, you can freeze them for up to 2-3 months.
Q3: My Green Velvet Cupcakes turned out dry. What could be the reason?
A3: Overbaking can cause cupcakes to become dry. Make sure to check them a few minutes before the recommended baking time and remove them from the oven when a toothpick inserted into the center comes out with a few moist crumbs attached.
Q4: How can I prevent the cupcakes from sticking to the liners?
A4: If your cupcakes are sticking to the liners, it might be due to underbaking or using low-quality liners. Ensure that the cupcakes are fully baked before removing them from the oven. Using higher-quality grease-proof cupcake liners can also help prevent sticking.
Q5: Can I use salted butter in the cupcake batter?
A5: It’s best to use unsalted butter in the cupcake batter, as it gives you better control over the overall saltiness of the recipe. If you only have salted butter, reduce the additional salt in the recipe to avoid an overly salty taste.
Q6: My cream cheese frosting is too runny. How can I fix it?
A6: If your cream cheese frosting is too runny, it may be because the cream cheese or butter was too soft. Refrigerate the frosting for about 20-30 minutes to firm it up. If it’s still too soft, gradually add more powdered sugar until the desired consistency is reached.
Q7: My cream cheese frosting is too thick. How can I adjust it?
A7: If your cream cheese frosting is too thick, you can add a small amount of milk or cream, one tablespoon at a time, until it reaches the desired consistency.
Q8: Can I add other flavors to the cupcakes, apart from the cocoa and vanilla?
A8: Absolutely! You can experiment with different flavor extracts, such as almond or mint, to customize the cupcakes according to your taste preferences.
Q9: Can I store the cupcakes with cream cheese frosting at room temperature?
A9: If your environment is warm, it’s best to store cupcakes with cream cheese frosting in the refrigerator to avoid spoilage. However, allow them to sit at room temperature for about 15-30 minutes before serving to bring them to their best texture.
Q10: Can I freeze Green Velvet Cupcakes with cream cheese frosting?
A10: While you can freeze cupcakes with cream cheese frosting, keep in mind that the texture of the frosting may change slightly after thawing. To minimize this, make sure the cupcakes are well-wrapped and stored in an airtight container before freezing.
Remember that baking is a creative process, and it’s okay to encounter challenges along the way. Don’t be afraid to experiment and make adjustments to the recipe to suit your preferences. Enjoy the process of baking and indulging in these charming Green Velvet Cupcakes!
Nutritional Information
Calories: 180-250 kcal, Total Fat: 8-15 grams, Saturated Fat: 4-7 grams, Cholesterol: 40-60 milligrams, Sodium: 150-250 milligrams, Total Carbohydrates: 25-35 grams, Dietary Fiber: 0-1 gram, Sugars: 15-20 grams, Protein: 2-4 grams
Please note that these values do not include the nutritional information for cream cheese frosting or any optional garnishes.
For a more accurate assessment of the nutritional content of Green Velvet Cupcakes, it is essential to refer to the specific recipe you are using. If you have dietary concerns or are following a specific diet, consider adjusting the recipe or consulting with a qualified nutritionist to meet your nutritional requirements.

